DIY Closed Terrarium Guide for our DIY Kits
Building a closed terrarium is a rewarding and creative project that combines design, nature, and a touch of science. Not only is it enjoyable to put together, but it also offers a hands-on way to explore plant care, miniature ecosystems, and sustainable living. Here’s a step-by-step guide to help you create a stunning self-sustaining indoor garden using our kit.
Time: 30–45 min • Age: 3-99+ • Difficulty: Easy
Before You Start
- Read through the guide once before starting
- Set up a mess-friendly workspace (tray or bin-bag on a table)
What’s in the Kit
- Small stones
- Mesh barrier
- Activated charcoal
- Potting soil
- Spray bottle
- Instructions
- Tweezers
You’ll Also Need (if not included)
- Glass or plastic container with lid
- Plants (foraged or bought)
- Decorative items (shells, pebbles, figurines, etc.)
- Spoon or small shovel
- Optional: gloves, trowel, wellies (if foraging)

FIRST THINGS FIRST — Choosing a Container
Disregard this section if you have purchased a container with us!
- Most clear food jars work great (jam, hot dog, Nutella jars). Choose wide-rimmed jars for easier planting, but containers with smaller rims can make a challenge!
- Glass is best, but plastic can be used for younger children to prevent breakages.
- Don't have a lid? Try cling film or a vintage tea saucer from a charity shop.
Step-by-Step Instructions
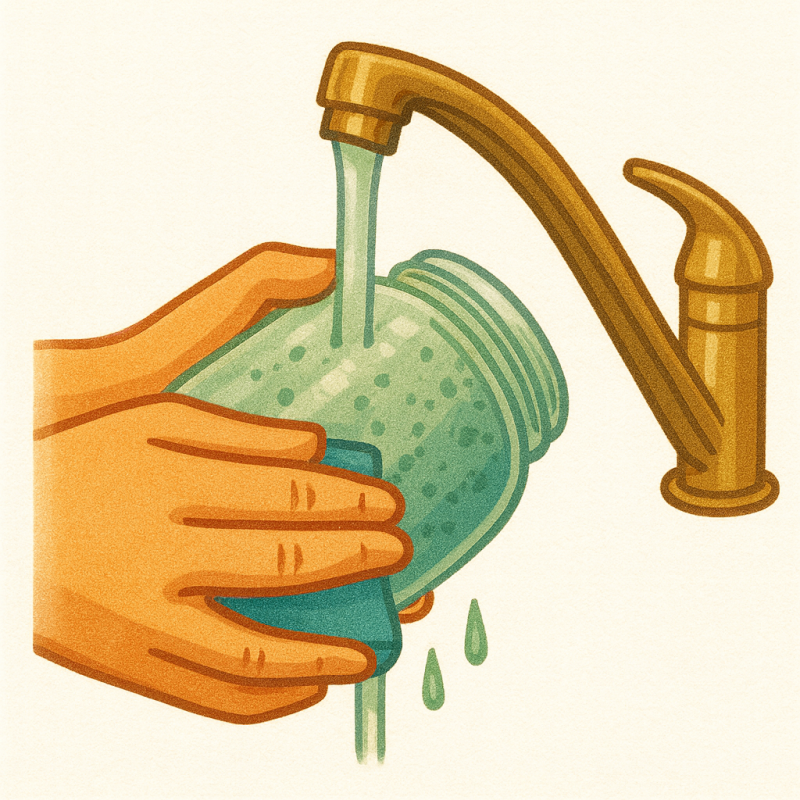
1️⃣ Select and Clean Your Container
-
Remove any labels and thoroughly wash your container with soap and water

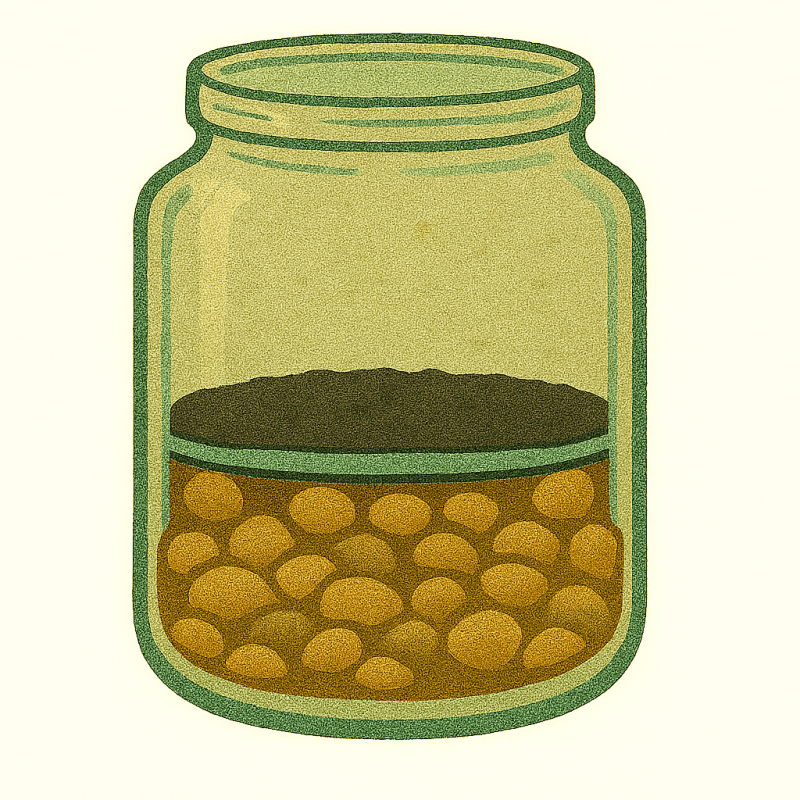
2️⃣ Add a Drainage Layer
-
Add approximately 1 inch of stones
-
WHY? The stones create a 'false bottom' where excess water can collect, and helps to prevent waterlogging and root rot

3️⃣ Add a Barrier Layer
-
Place glass container on top of mesh and carefully cut around it, so the mesh will fit carefully inside the container without overlapping.
-
WHY? Helps to stop soil from mixing with the drainage layer by creating a physical barrier
4️⃣ Add Activated Charcoal
-
Sprinkle a thin and even layer of activated charcoal on top of the mesh
-
WHY? Helps to filter water and prevent smells because the activated charcoal absorbs the toxins

5️⃣ Add Soil
-
Add 2 inches of soil on top of the activated charcoal. Smooth the top using a spoon or fingers
-
WHY? The soil allows the plants to grow by providing nutrients and anchoring the plants in place

6️⃣ Planting Time!
-
Dig small holes with the tweezers
-
Push the plant into the hole using the tweezers, and gently pack soil around the roots.
-
Vary the sizes and types of plants for a more natural, layered look.

7️⃣ Add Decorative Touches (Optional)
Enhance your terrarium with:
-
Shells, stones, or crystals
-
Small figurines
-
Natural keepsakes

8️⃣ Watering
-
Use spray bottle to lightly mist
-
Avoid soaking – just damp soil
-
Closed: mist monthly / Open: every 1–2 weeks

9️⃣ Choose a Home for the Terrarium
-
Your terrarium will prefer indirect sunlight (not too hot or dark, heat and light are amplified inside the glass)
-
Windowsill or shelf is perfect, but you can use artificial light if this is not available.
Caring for Your Terrarium

Weekly Check-ins:
✅ Check moisture – Mist with water if soil looks dry
✅ Trim dead leaves – Keeps the terrarium healthy because the dead leaves don’t fall and rot
✅ Watch for mould – Opening for one hour every week can improve airflow and reduce chances of mould
Read our aftercare guide for more information
Learning Through Observation
Even as adults, terrariums offer small wonders:
-
Watch the water cycle in action.
-
Track plant growth over time.
-
Create your own miniature landscape design.
Final Thoughts
Building a terrarium is a mindful, creative activity that results in a living piece of art for your home. With a little care, your miniature ecosystem will thrive for years.